How To Set Up A Hammock For Camping

Hammock camping is the comfiest way to sleep in the woods, and this article explains how to set up your hammock correctly. These instructions assume you have a common suspension system like what we use in the Wanderlust Complete Kit For Hammock Camping. The steps are as follows:
- Select Site
- Place Tree Straps
- Clip Hammock to Tree Straps
- Test and Adjust
- Hang Underquilt
- Set Up Tarp Shelter
Select Site: Begin by selecting your campsite. Choose a clearing between two sturdy trees that are 15-20 ft. apart centered over a durable surface. Be sure to camp 200 ft. from water and away from trails. Always look above your campsite for dead or loose branches that could potentially fall (we call these widow makers for a reason).
Place Tree Straps: Next, wrap your daisy chain tree straps around each trunk at approximately head height by pulling one end through a link in the daisy chain to create a loop. We highly recommend placing your foot end tree strap 6” higher, as your body weight is mostly concentrated below your ribcage which will help to flatten your lay when reclining. Cinch the straps all the way up against the trunk, allowing the extra length to hang loosely for now.
Clip Hammock To Tree Straps: Stand back and visualize the your hammock centered between the trees. Clip a carabiner at one end of the hammock suspension line to the daisy chain. Deploy your hammock, keeping it off the ground as you walk over to clip the second carabiner to the opposite tree strap. When set correctly, the bottom of the hammock should drape about 18 inches off of the ground, providing clearance for your underquilt and easy entry/exit from a seated position. Ideally your structural ridgeline should have a little sag that straightens when sitting in your hammock. Shoot for something comparable to the tautness of a clothes line, rather than a guitar string.
Test and Adjust: Test it out by first sitting in the center of the hammock. This action should have you just low enough that your heels touch the ground when seated. Keep your legs engaged while sitting down, and anticipate that your suspension may slide while tightening under your weight. Once things feel secure, try laying in it. For optimal ergonomics and to avoid bowing your back like a banana, lay diagonally in the hammock, as opposed to perfectly parallel. Getting in and out from a seated position should feel natural and comfortable, and it is something you will do a lot of when hammock camping. You can always tell when a hammock is set too high or low. Getting all of that right usually requires a couple of quick micro-adjustments, which can easily be done by clipping the hammock suspension carabiners higher up or lower down on the daisy chains. If it’s still not right, you may need to move the daisy chain tree straps higher or lower on the tree trunks, or find different trees altogether.
Hang Underquilt: Once the hammock is set up, it’s time to deploy the under quilt. This should also connect with carabiners, clipping to the suspension line and wrapping like a cocoon centered around the outside of the hammock. The ends of the hammock will protrude beyond the underquilt. Be sure to keep your quilt free from debris and clear the site from any underbrush that could snag or tear your quilt.
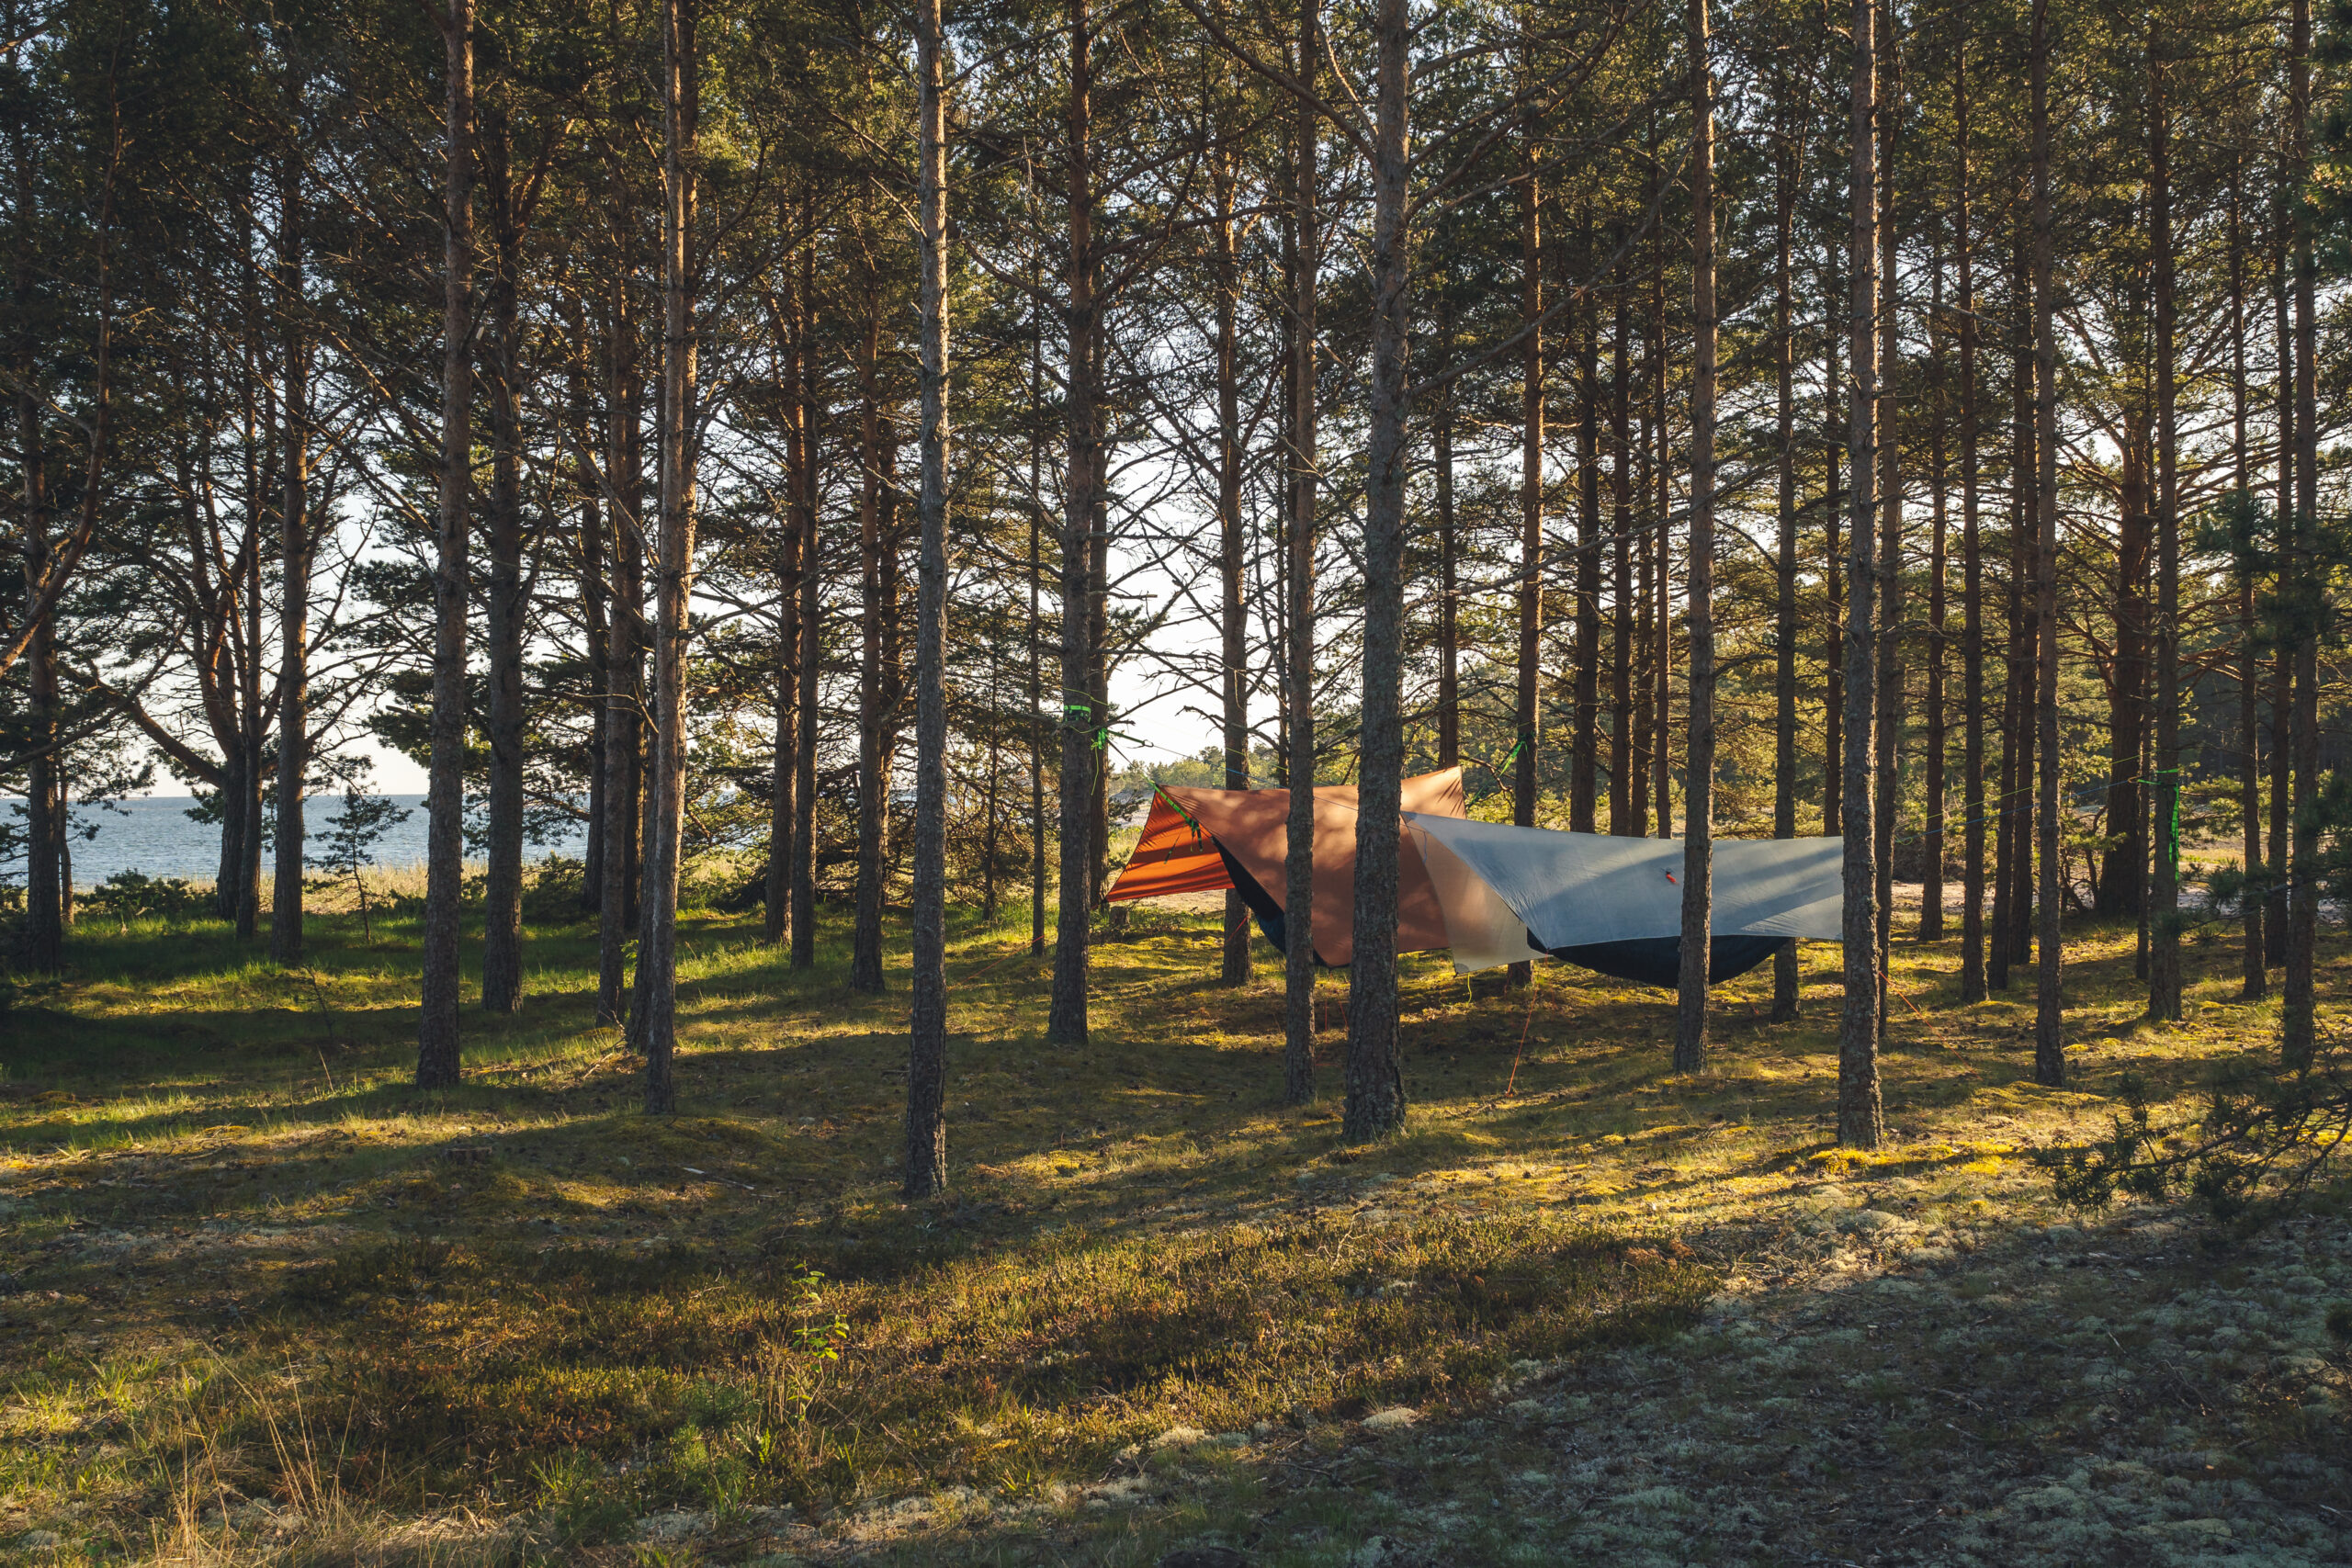
Set Up Tarp Shelter: Finally, set up your tarp above the hammock. Begin by draping the tarp centered over the hammock’s ridgeline. Then, wrap the tarp’s ridgeline around one trunk above the daisy chain that suspends the hammock and ideally above head height, and clip the line onto itself with the end carabiner. Repeat the same process on the other end and check that the tarp’s ridgeline is level before guying out the perimeters. Finally, stake out the corners and sides of the tarp so that the fabric is taught. The perfect pitch will be taught enough to withstand wind and rain without overloading your tie-out points, should mother nature kick things up a notch. Over loading tie-outs is a common user error with tarps and tents. Like many things in life, there is a goldilocks approach to tightening your shelters’ tie-out points that will both serve its primary purpose and extend the life of your gear. When set properly, there should be plenty of headroom to get in and out of the tent. The higher you set the tarp, the more headroom you will have. The lower you set it, the more wind resistant it will be. Consider the weather conditions you will encounter to select the best configuration for your scenario.
As an optional finishing touch depending on the state of the ground, I may add a groundclouth underneath the hammock to set my gear on and keep my feet clean and dry when entering or exiting. Additionally something like an underquilt protector could come in handy if wet or windy conditions are expected.
Don’t forget the most important rule when it comes to hammock camping, HYOH (Hang Your Own Hang). This information offers a solid foundation to begin developing your own methods. There is more than one way to hang a hammock and if something different works for you that’s just fine. Hammocking is meant to be enjoyable! So long as you’re having a good (and safe) time, you’re doing something right!
Happy camping and happy hanging!
Related Posts

The Best Camping Hammocks of 2024 – A Buyer’s Guide by Hammock Gear
A good camping hammock can completely transform how you experience…

Can Napping Hurt You? Unveiling the Pros & Cons of Daily Zzz’s
Napping, the act of taking a brief sleep during the…